3D Modeling/Fabrication
Explored key concepts of form, 3D modeling, digital fabrication and critical making. Learned how to create objects in 3D modeling software and translate them into physical objects through different processes involving digital fabrication. Topics included additive and subtractive manufacturing, virtual form, physical form, materiality, scale, and prototyping.
Low Tech/Low Resource Object
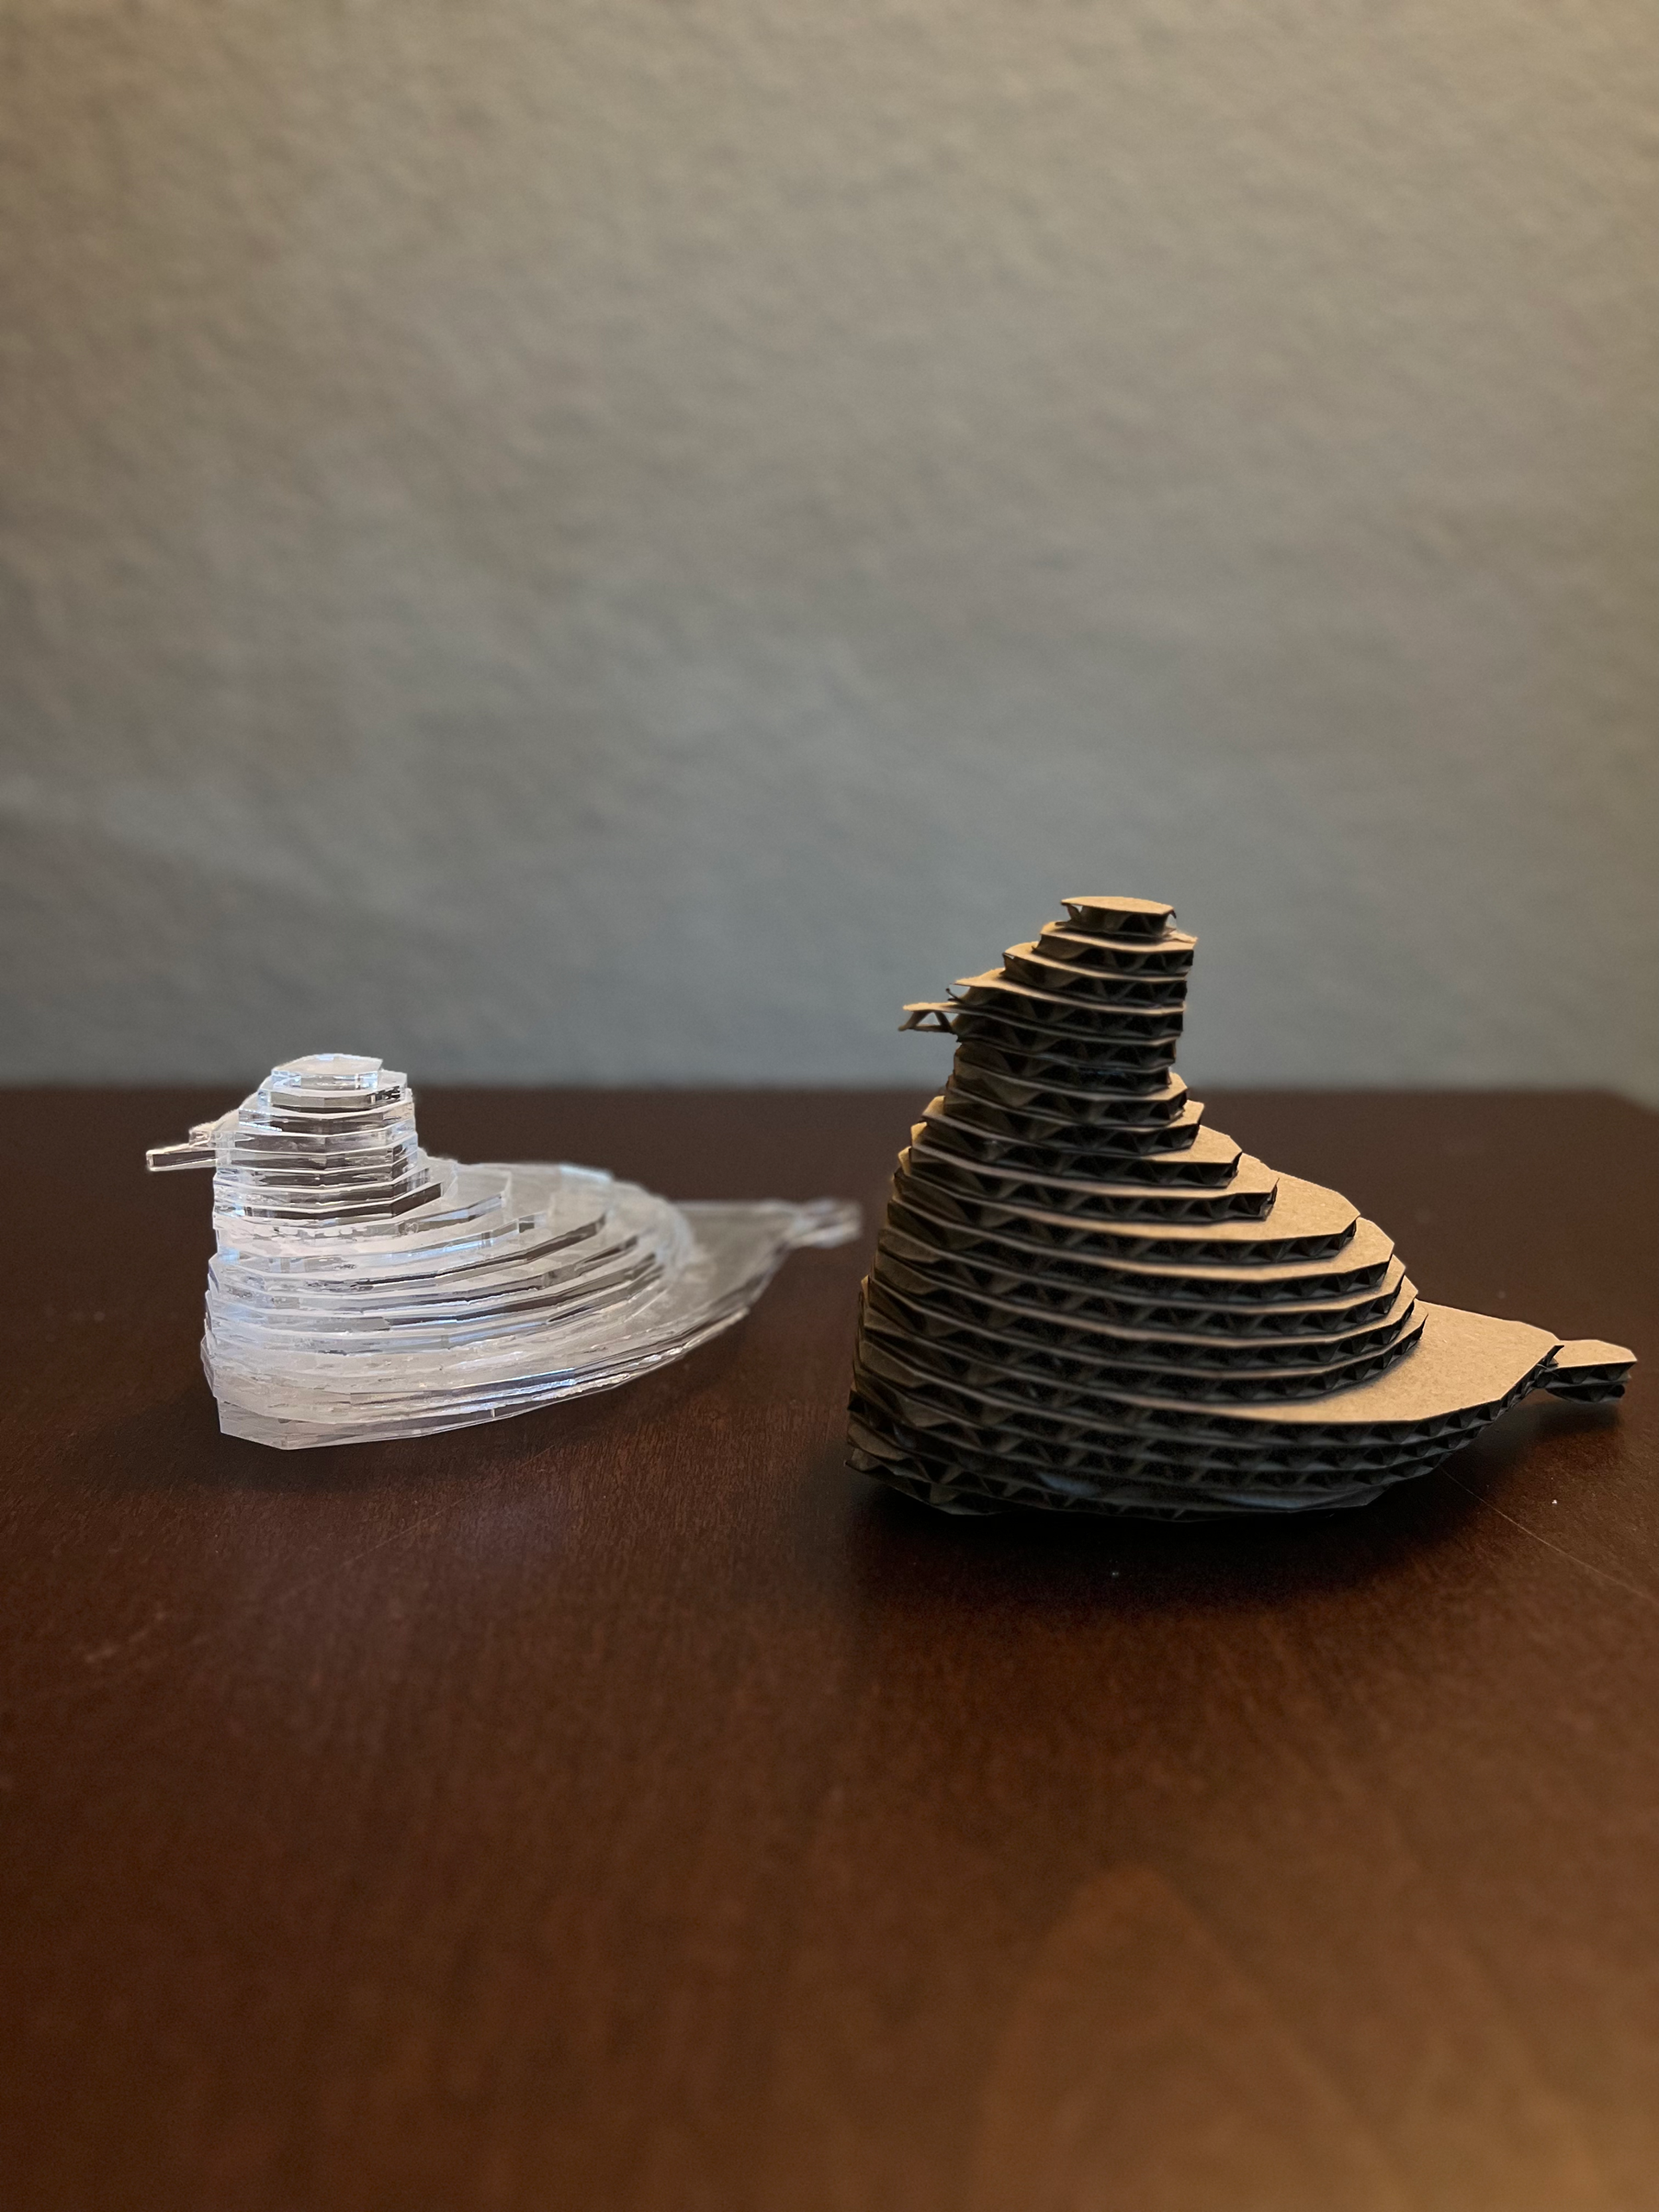
I utilized a combination of cardboard and acrylic materials to translate a digital form into a physical form. The creative process began with the utilization of Blender, a 3D modeling software, to design my object. To ensure precision in layering, I applied modifiers like Boolean and Solidify, resulting in even layers throughout the design.
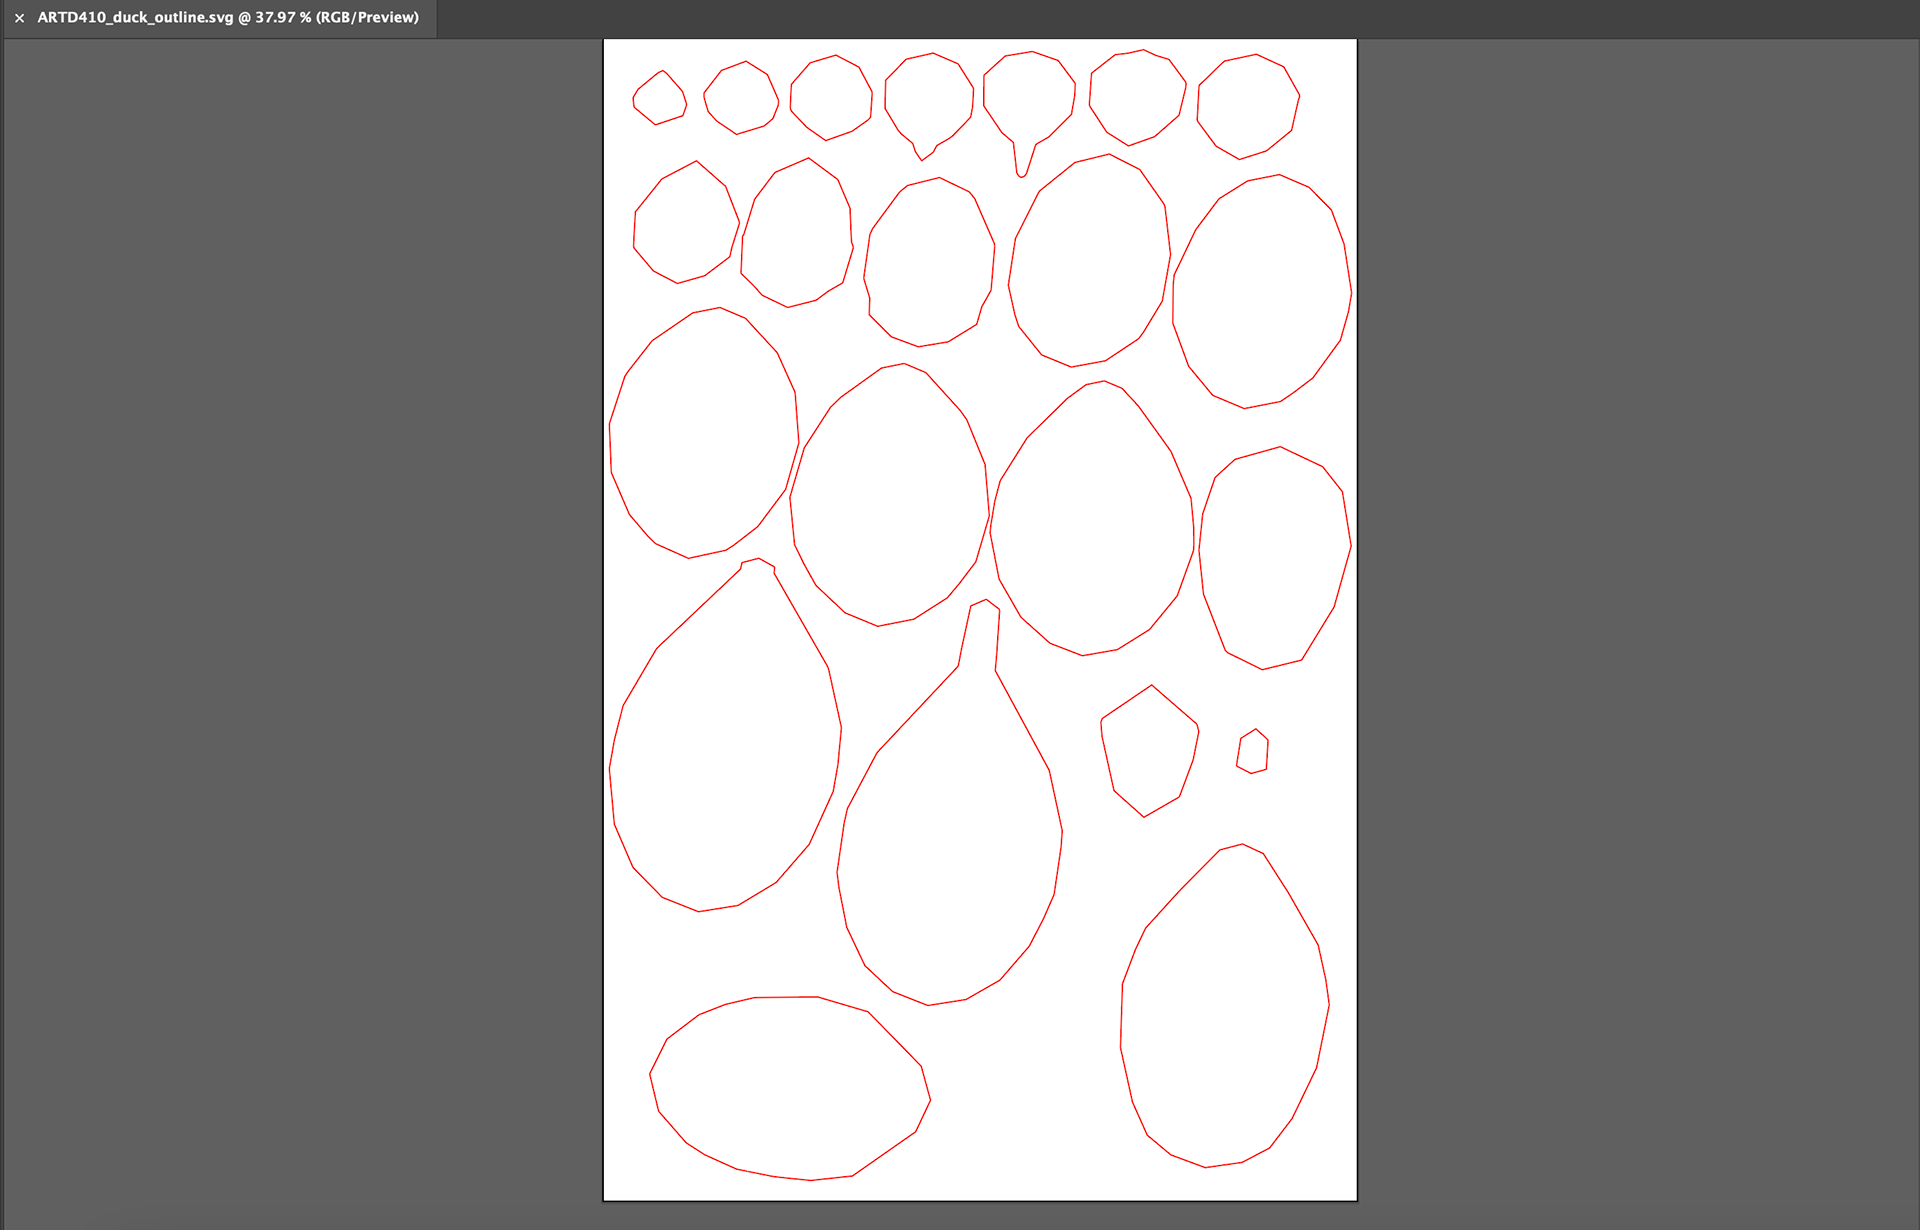
The next step involved converting the digital model into an SVG file format and transferring it to Adobe Illustrator. Here, I adjusted both color and stroke weight to meet the specifications necessary for the laser cutting process.


High Tech/High Resource Object
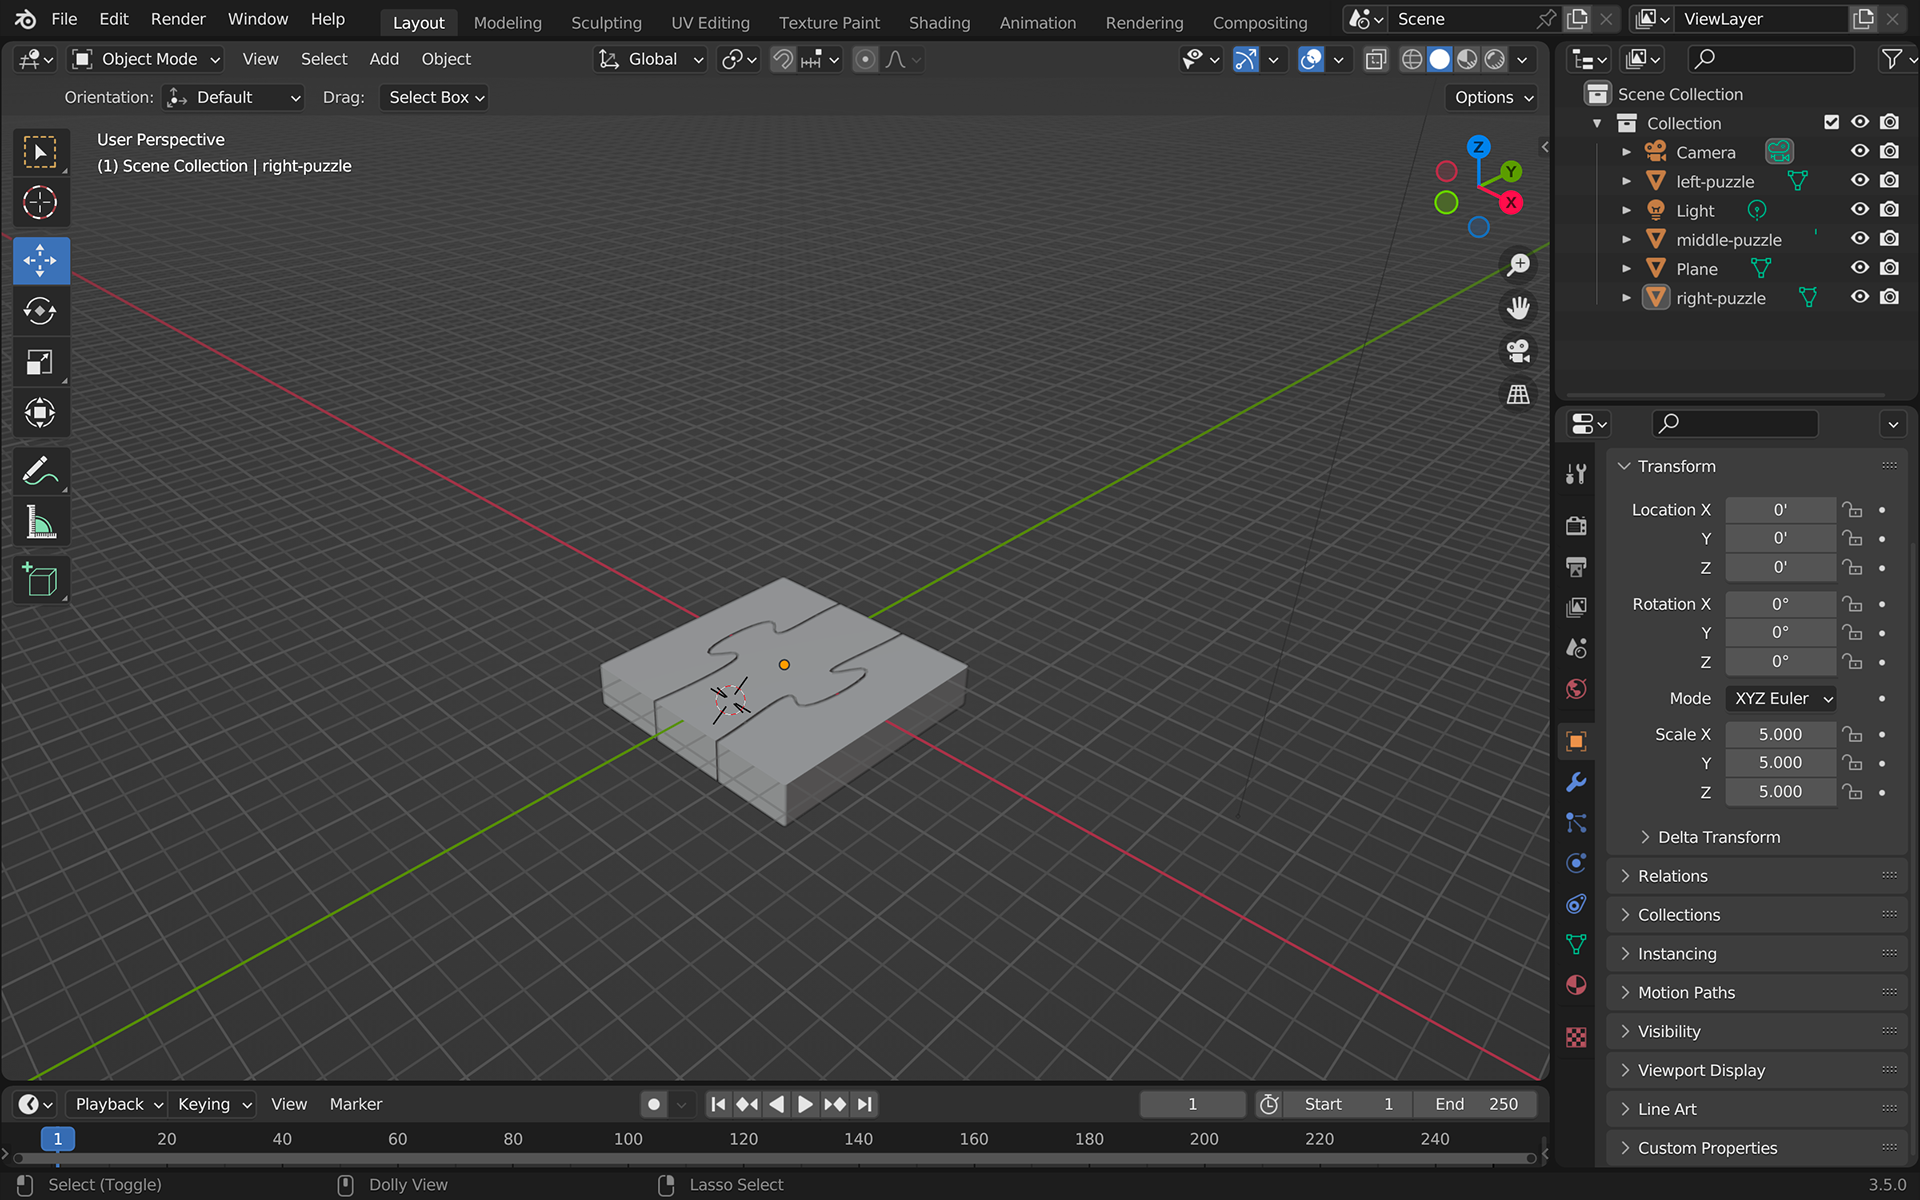
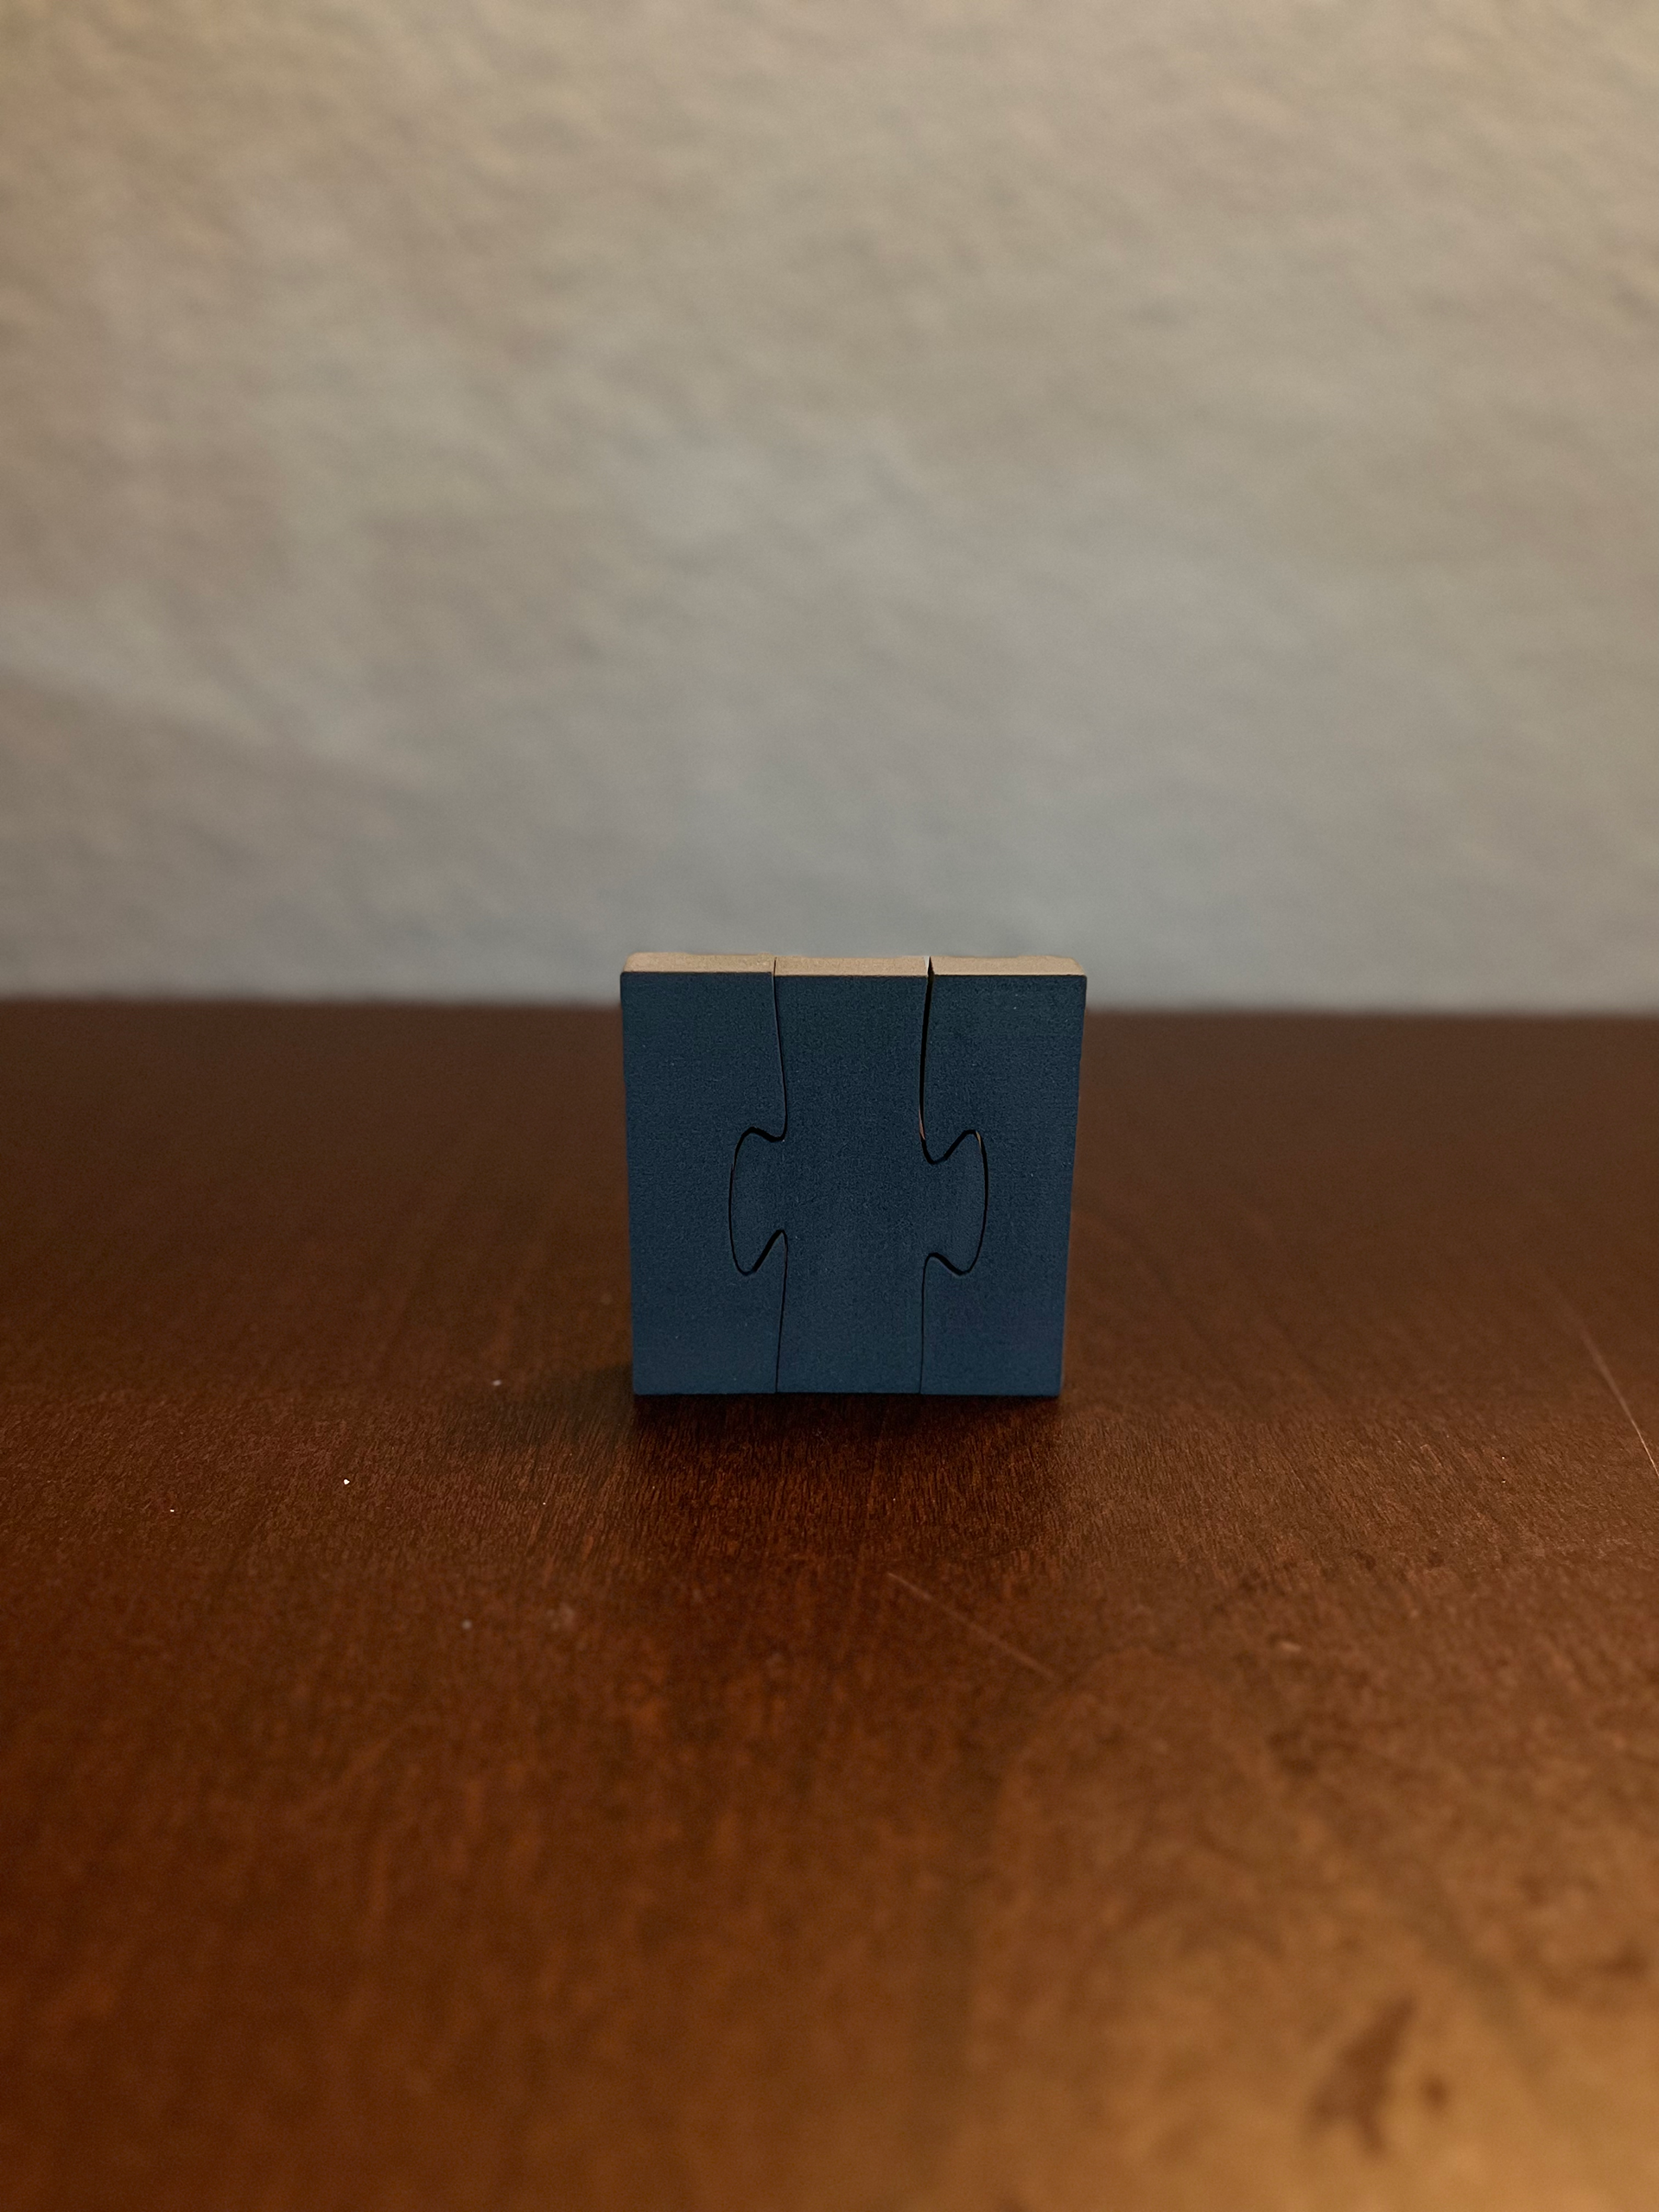
I created a sculpture using three 3D printed parts that could be assembled in different ways, designed to fit together smoothly. I kept the project small, with each part measuring about 5 x 5 x 5 inches.
I learned making parts fit together, adding connectors, ensuring the right fit, making components interchangeable, and designing for 3D printing. After creating my objects in Blender, I exported each of the three components as STL files, which were then sent to the Makerbot Replicator 2 3D printer. This printer used layers of a type of plastic called PLA to build the model layer by layer.


